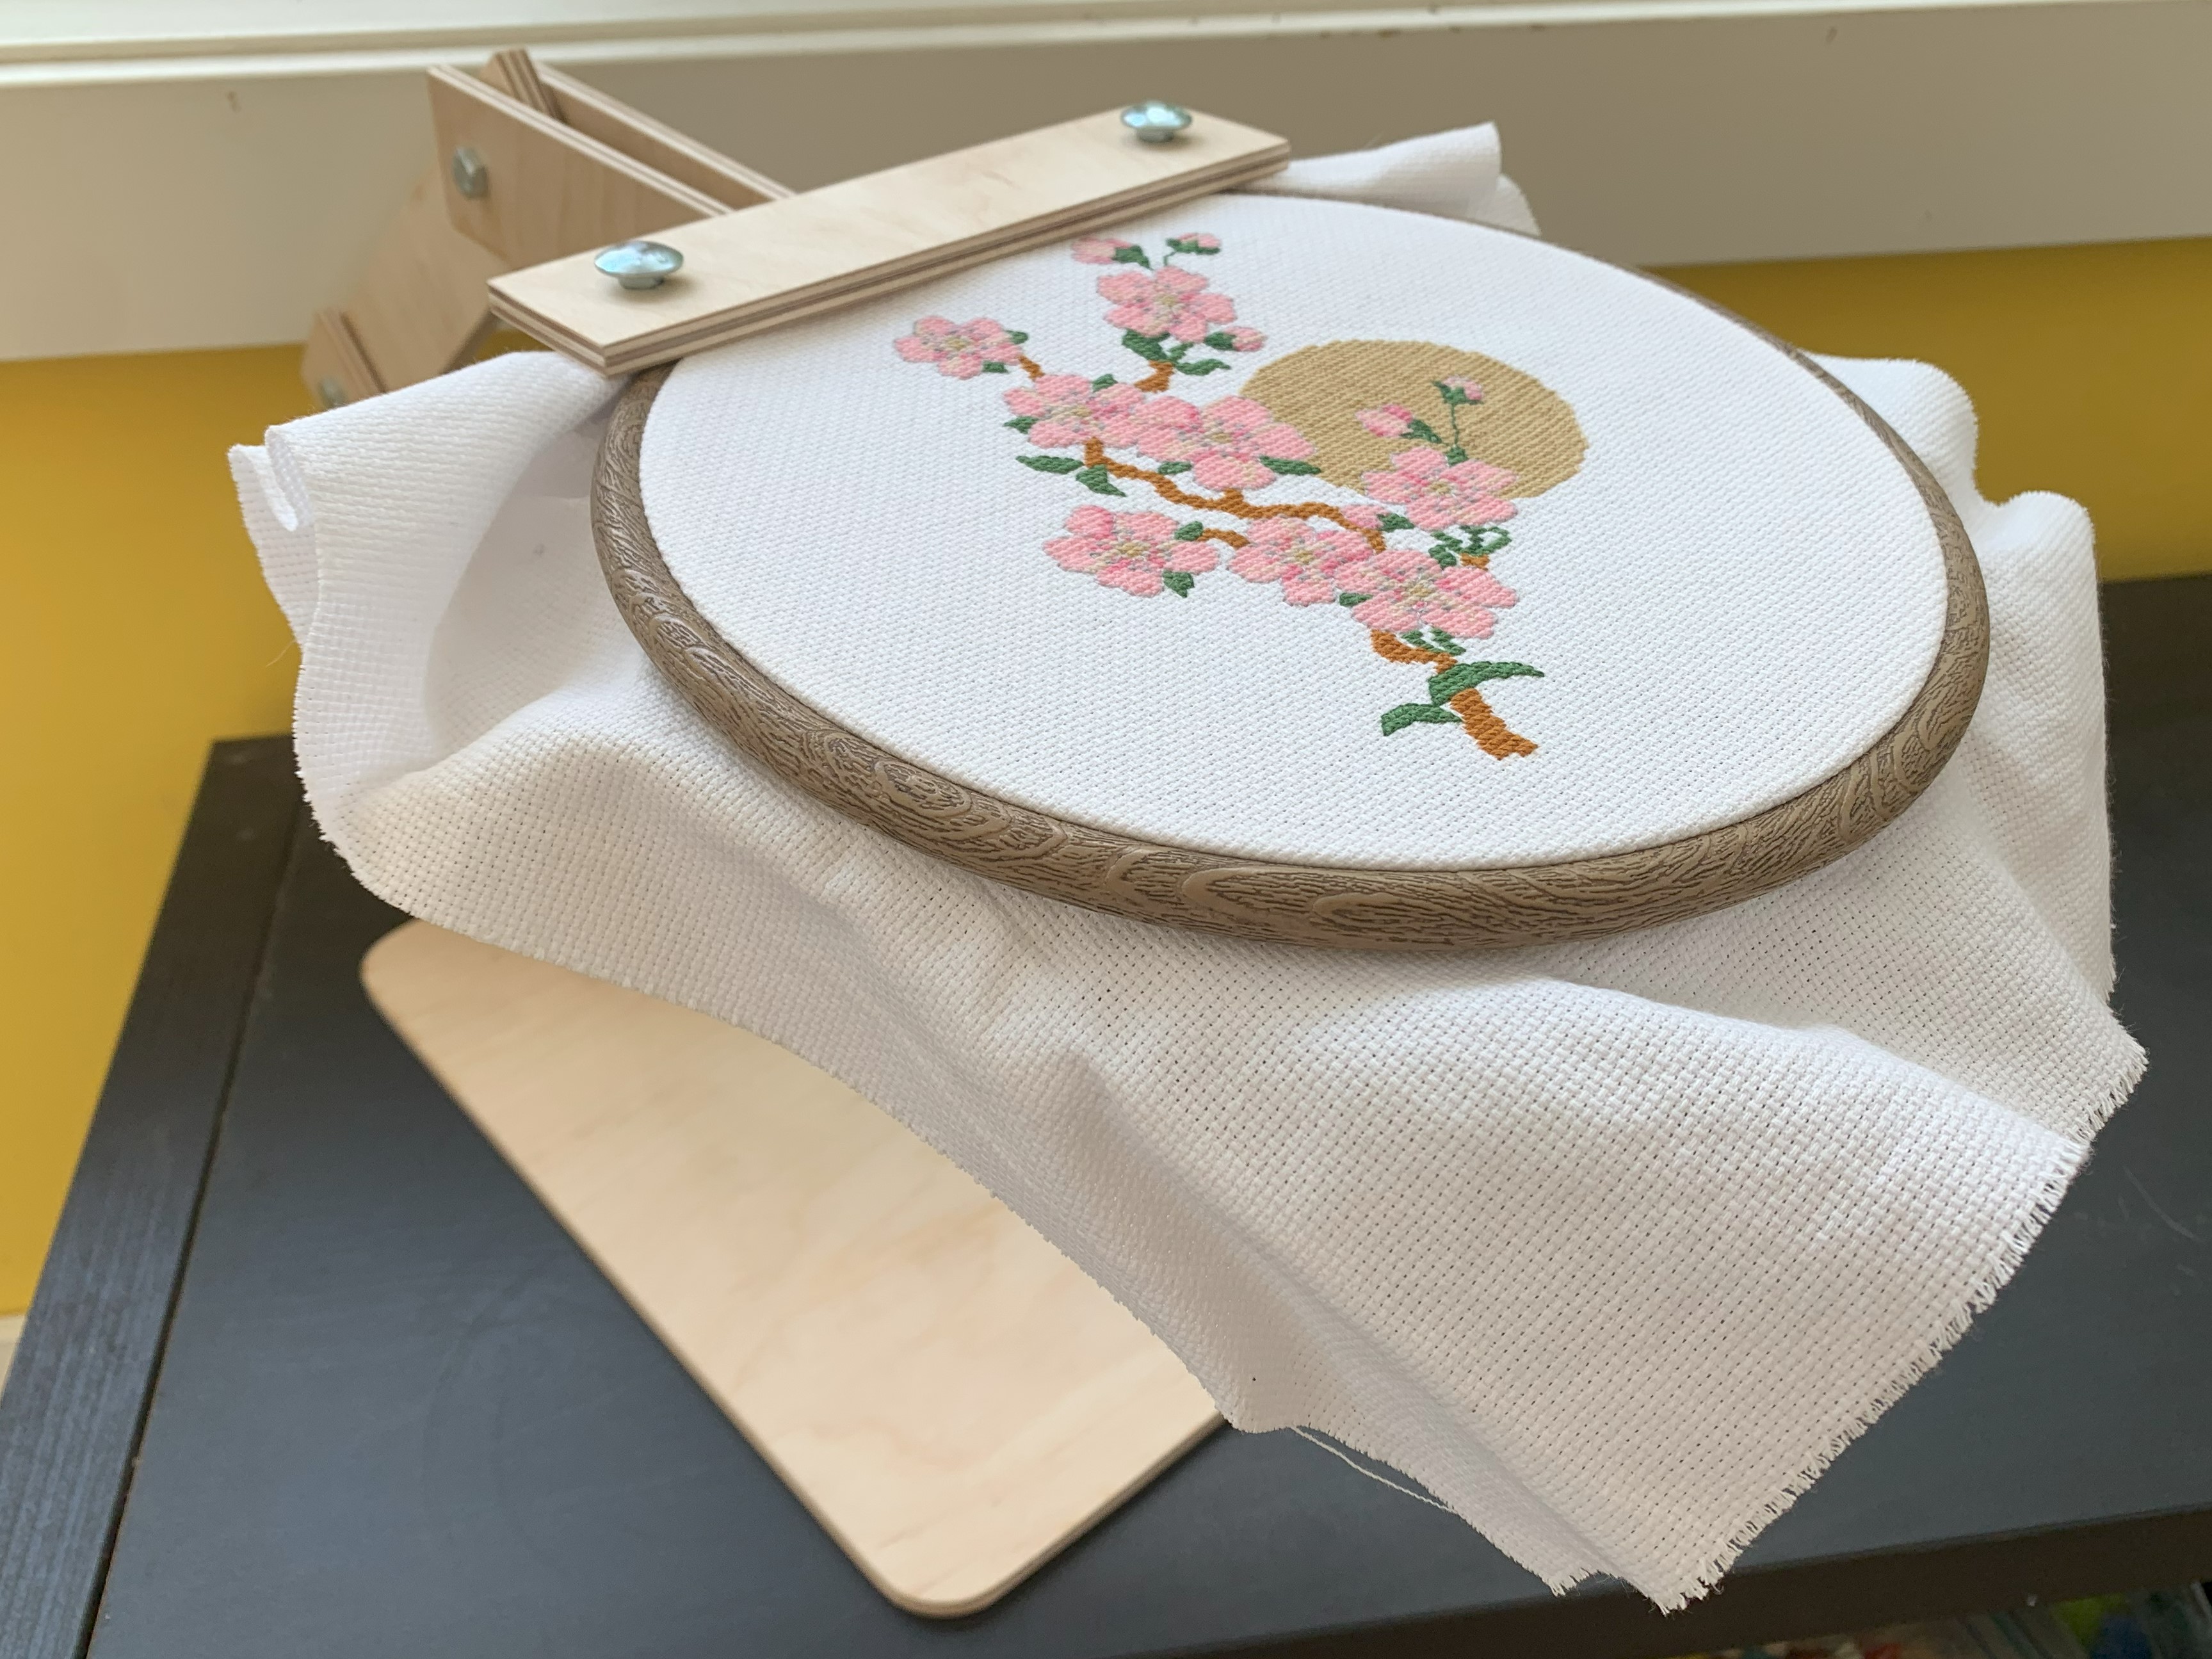
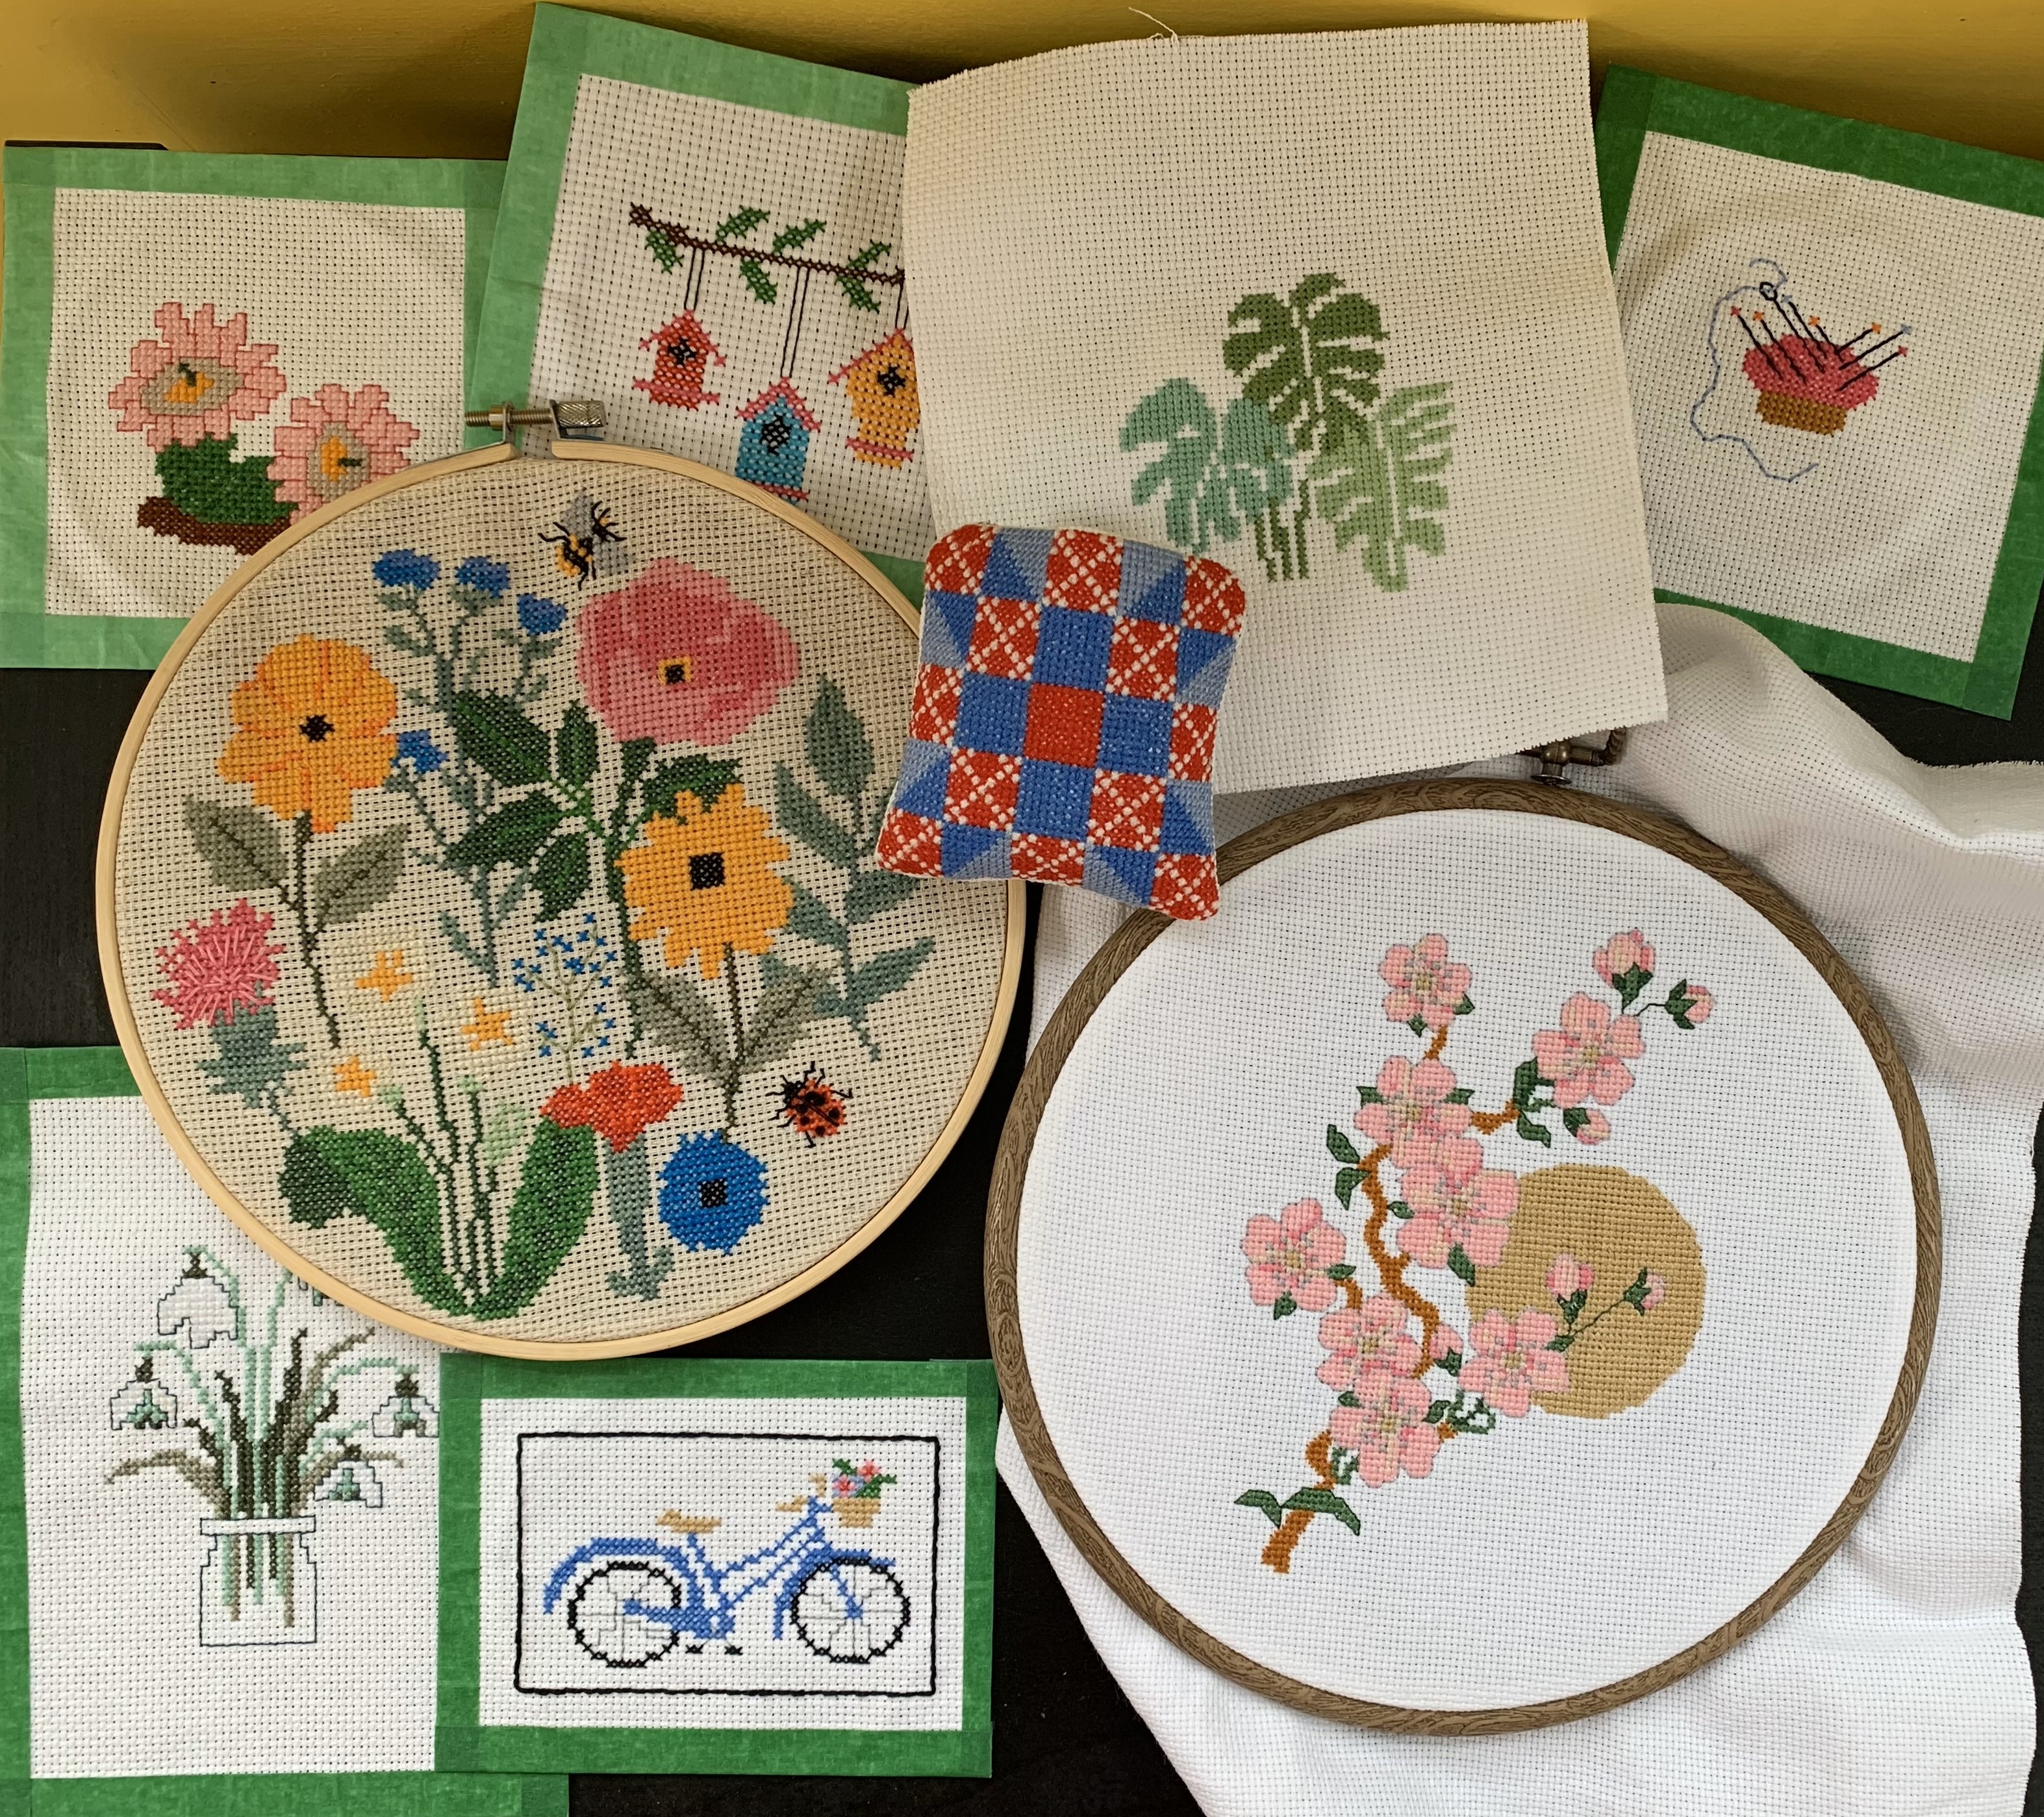
For the past few years, I’ve been cross stitching as a way to relax. I like how I can follow a pattern someone else created, listen to some music, and eventually end up with a beautiful piece of art to display. Below are a few of the pieces that I’ve made. Patterns are from DMC, as well as this book.
However, I’ve found my hand gets tired after holding the hoop for a long period of time. Given that I’ve recently gotten access to a bunch of woodworking tools at Northforge, I decided to make a cross stitch stand from scratch, rather than buy one online.
I based my measurements off of this design, but because I have a bunch of 3mm thick plywood I rescued from a garbage can, I opted to laser cut the components, and double up the sheets for rigidity.
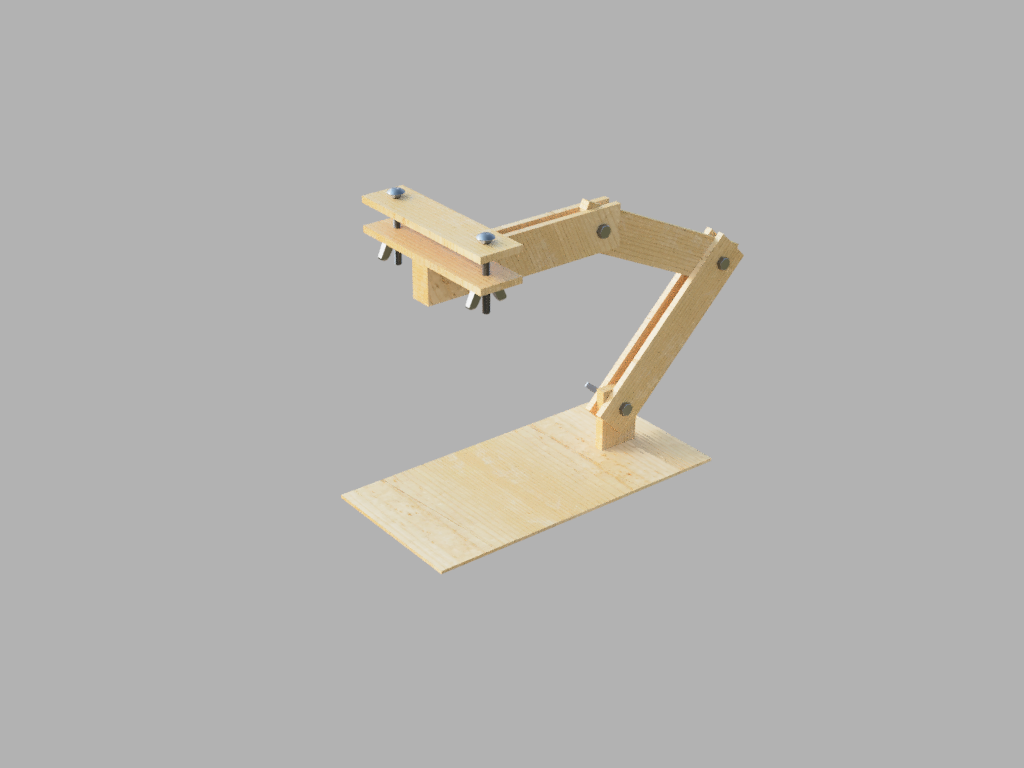
My first step was to use Fusion 360 to create a model of the stand. I got to mess around with joints and inserting fasteners both from the built in listing, as well as from McMaster Carr. Overall, I’m happy with how it turned out, although a lot of the work was not strictly necessary just to build it in real life. Either way, I got some nice renders out of it.
After that, I used an Epilog Helix laser cutter to cut my pieces out (using the CAD model to generate DXF files to send to the printer), then sanded the sides to remove the char (as I don’t want it rubbing off onto my fabric). I then glued all the pieces together and attached them with some bolts and wingnuts. There are so many fasteners to chose from, I spent a good two hours in a Canadian Tire looking at all the different kinds.
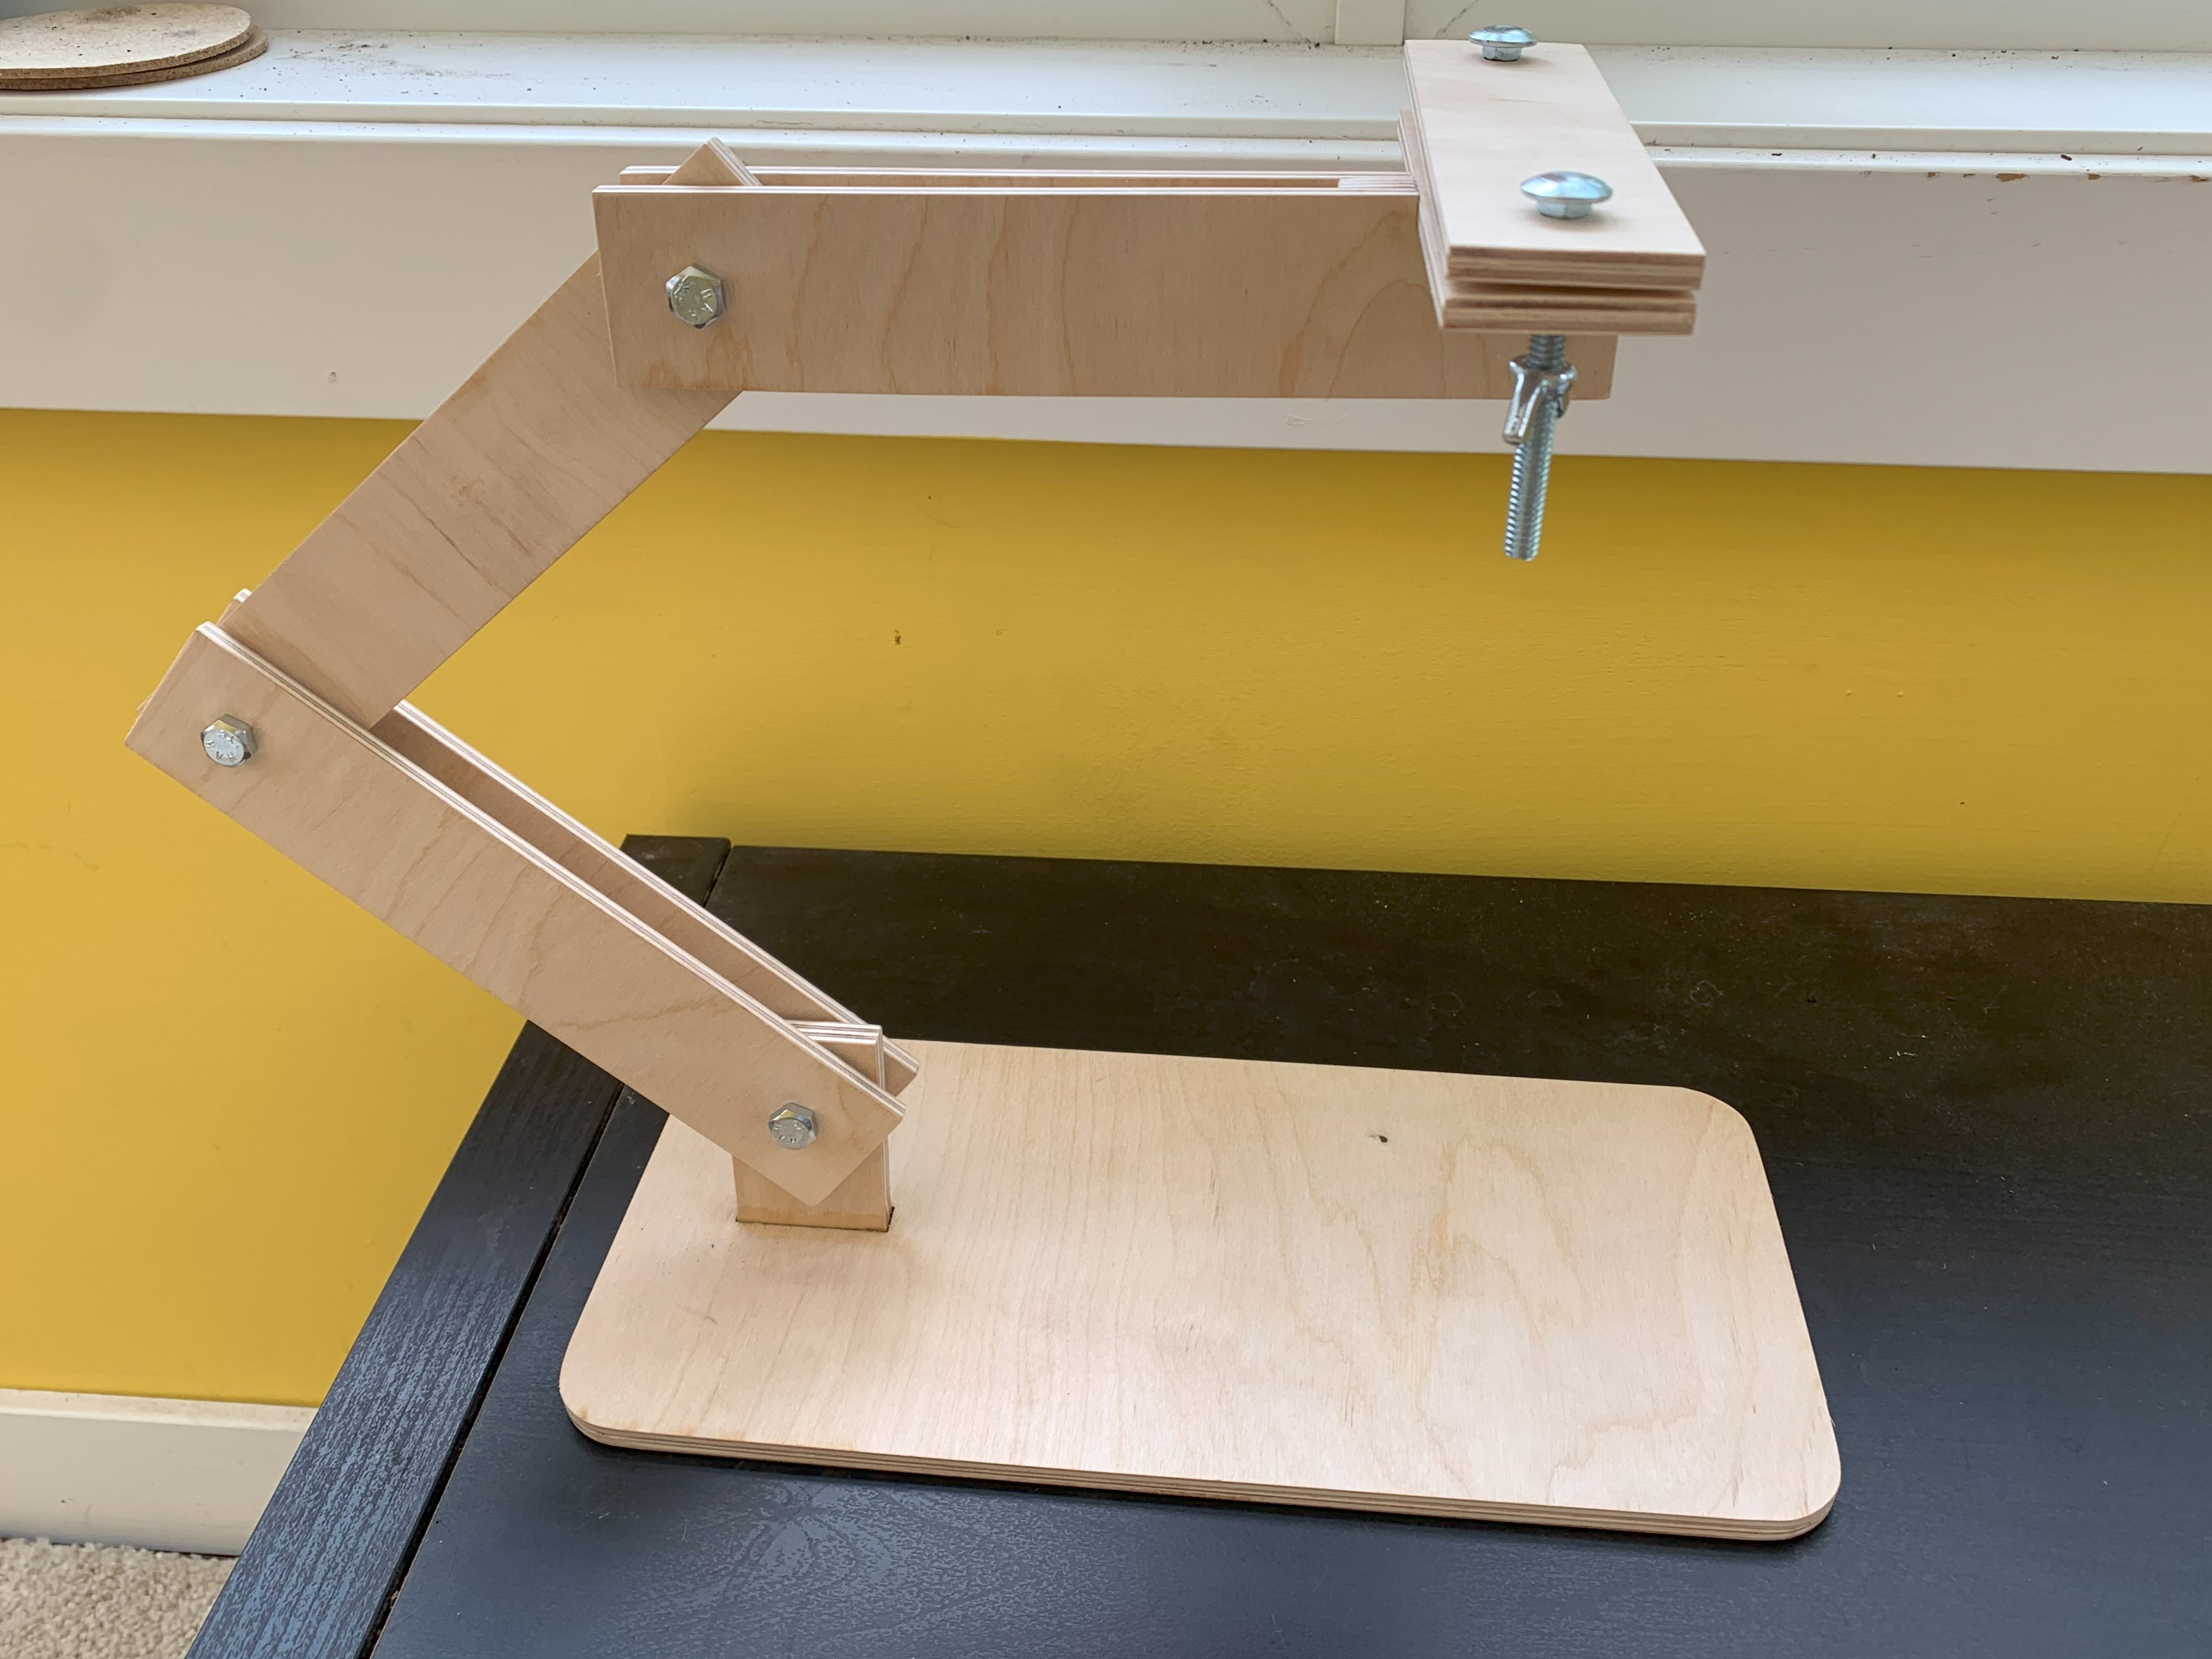
I’m pretty happy with how the final result turned out. I might try and varnish it, although I don’t know how well the sides of the plywood would take the colour. If anyone wants the files so that they can make this themselves, feel free to email me.