I’ve made a number of laser cutting projects while at Northforge, and not all of them are large enough to fill a full article.
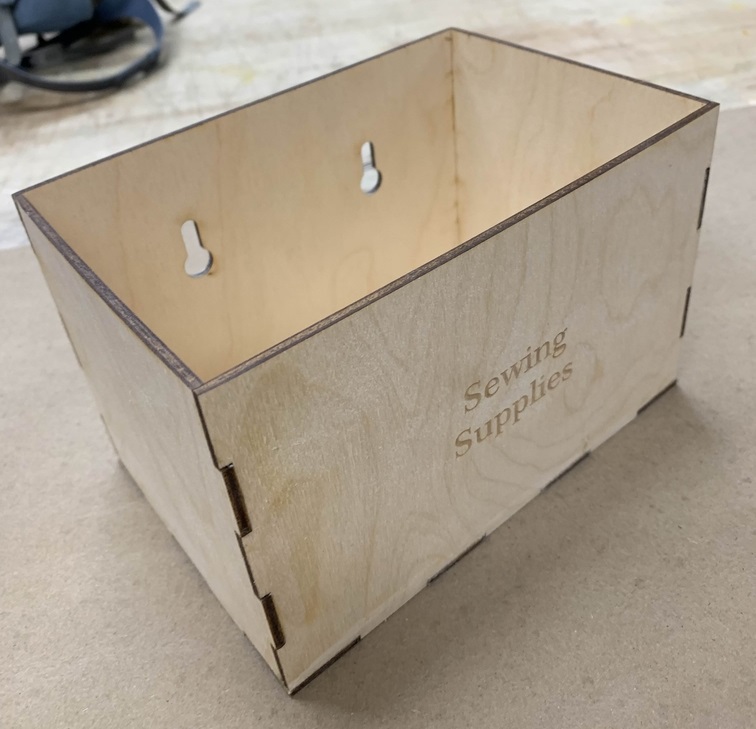
My first project was to create a finger-jointed box to store some of my sewing and cross stitch supplied in. It was fun modelling the parts in Fusion, as I got to take advantage of the Mirror and Slice tools to speed up my workflow and ensure everything fit together correctly.
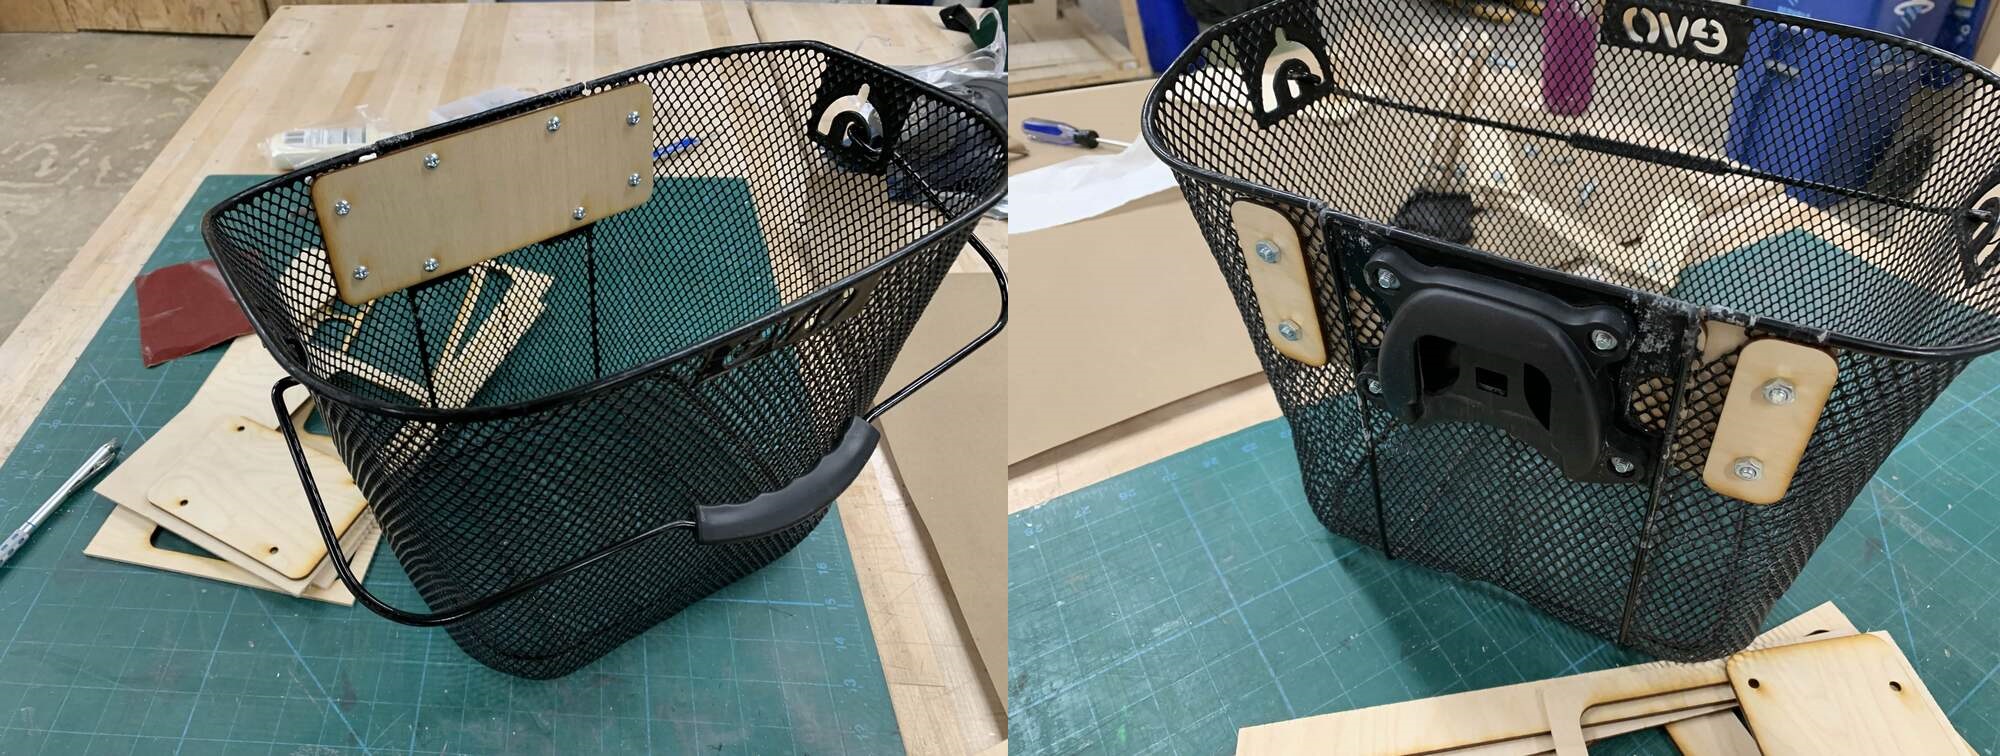
I built a mount to keep my bike basket togeher, as the metal that initially connected the basket to the bike was too thin and snapped. I needed to use the plastic mount which attached onto my bike, so I carefully copied the spacing of the screw holes into a new laser cut plate that extends over the inside of the basket, and clamps back onto the outside. This distributes the load more evenly onto the basket, so that I can carry heavy lumber to and from Northforge
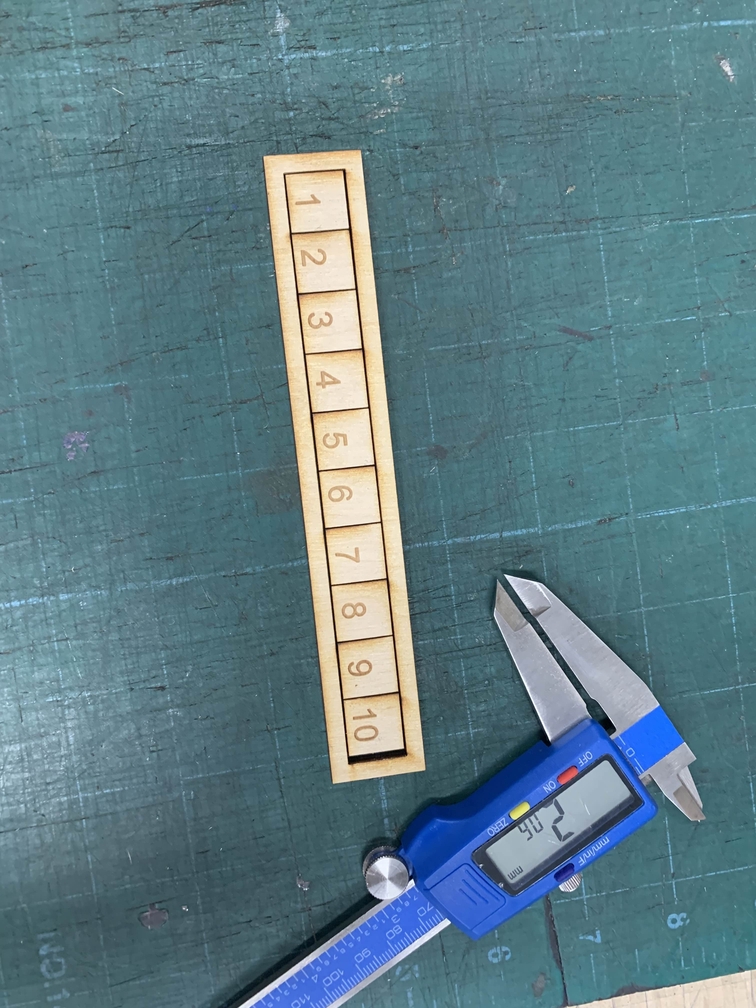
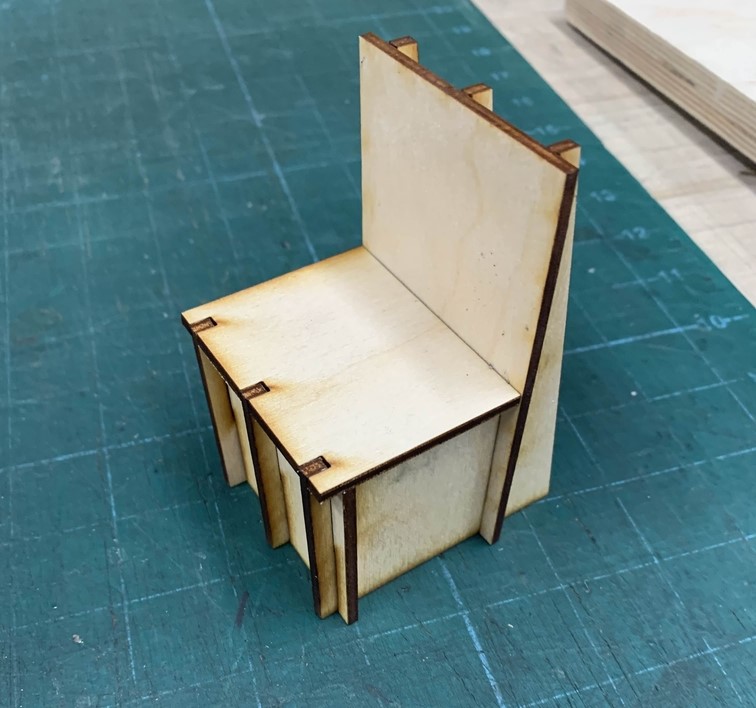
As I was watching a youtube tutorial they mentioned “kerf”, which is the amount of material removed by your tool over the line you are cutting on. Previously, I wasn’t really considering this, as I thought the laser didn’t burn away a significant amount of material. However, after testing my laser cutter following this tutorial, I realized that I was removing around .1mm more material than I intended to.
To test this finding, I made a miniature chair, based on a design I and a group used for our first engineering project at UBC. By treating the plywood as though it was .2mm thinner than it actually was, I managed to account for the kerf and create a piece that stayed together without any glue, even when inverted.
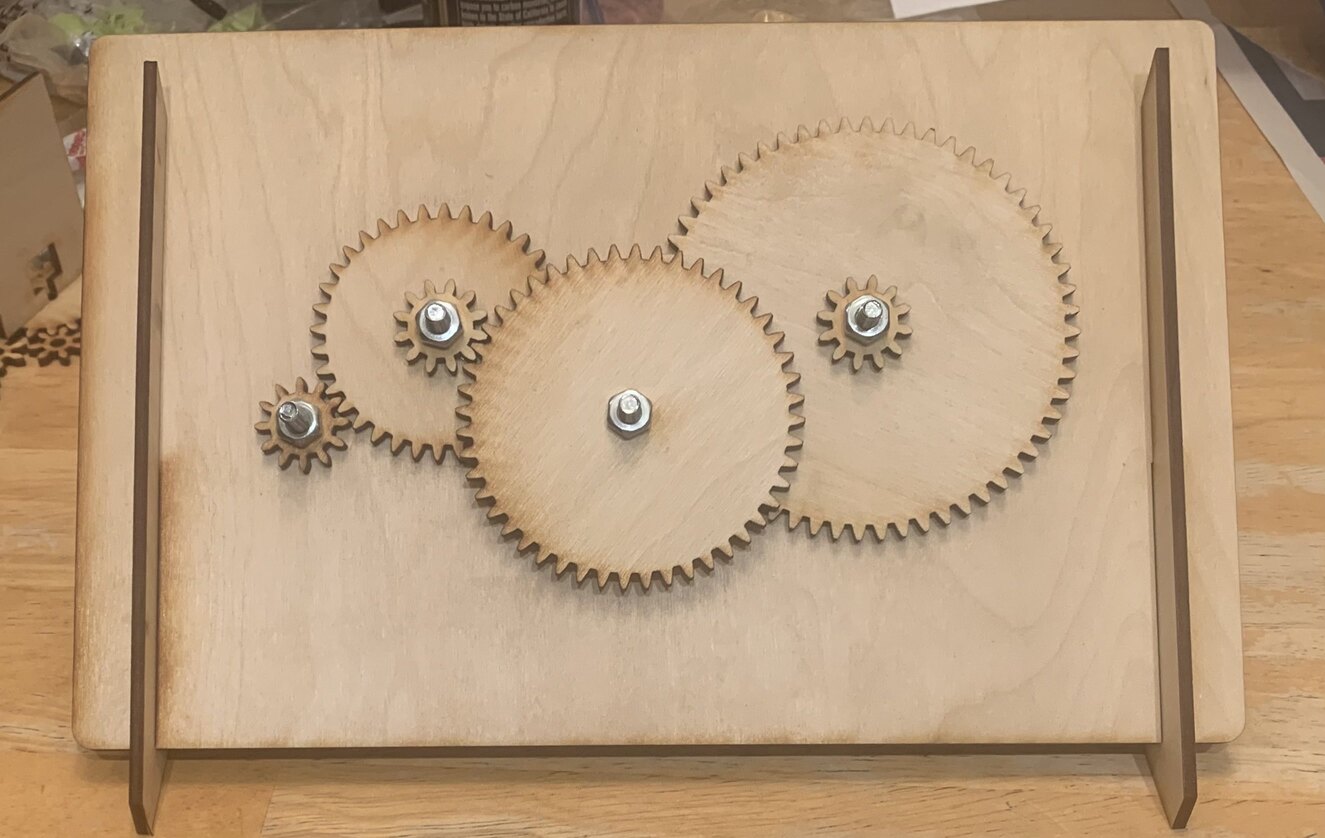
Finally, I experiemented with gears a little. First, I built a very simple 1:60 gear ratio, to learn about Fusion360s tools for creating gears. By using four sets of gears, I was able to multiply together gear ratios to reach my desired ratio. However, the system is only able to be spun from the smaller 2 gears. This is due to the high amount of friction in the system. The only material I have to create axels is screws, which are not ideal. When the nut on the end spins, it either tightens or loosens against the gear. This means that my gears are either wobbly or fixed in place.
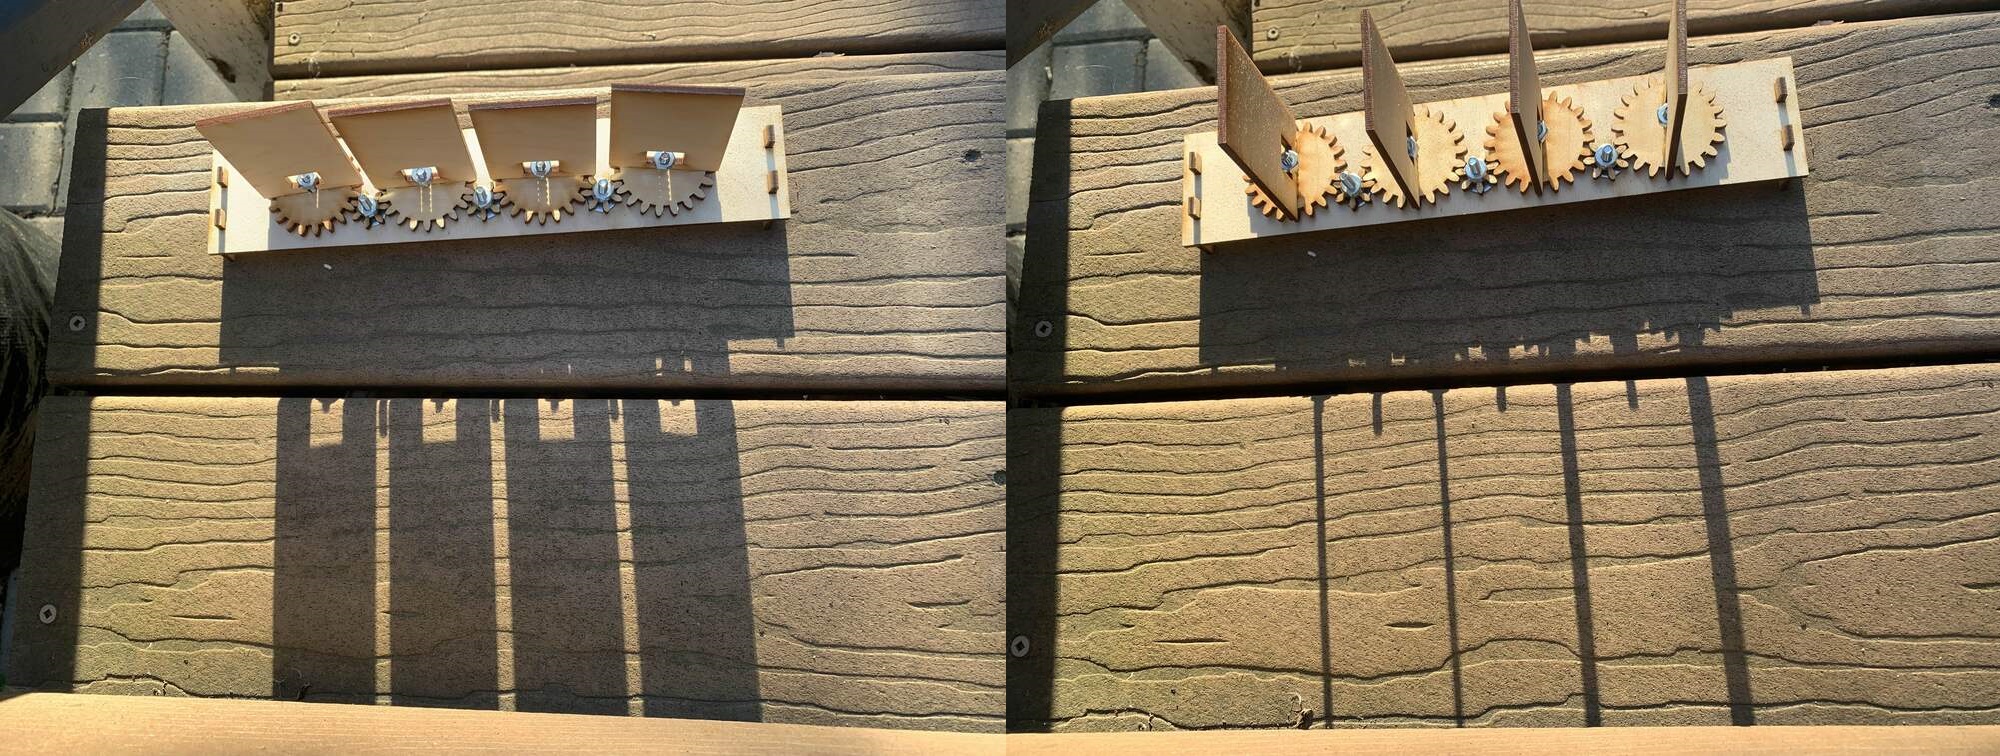
As a second gear based project, I created a tiny windowshade. When one gear is spun, all of the others spin the same amount. The second set of gears ensures the panels all spin the same direction. For this project, I installed washers below the gears to reduce some of the friction, although it’s still not perfect.