To learn more about the woodworking process, I made some picture frames to hang my cross-stitching pieces in. I primarily used elm for this project, as I was able to find some salvageable boards in the scrap bin, and also get some from a previous employer.
Although picture frames seem simple, there are still a number of techniques one can use to produce one. And, because the piece is intended to be decorative, any small mistakes will be obvious. There are four key steps that I identified to making a frame:
- Cutting equal width strips
- Cutting the rabbet for the picture to sit inside
- Adding optional ornamentation around the frame’s edge
- Cutting miters to join the corners, and joining the pieces together
After some experimentation, research, and advice from other users of the NorthForge FabLab, I selected a procedure. Below is a small 3"x3" test piece I used to confirm my method.
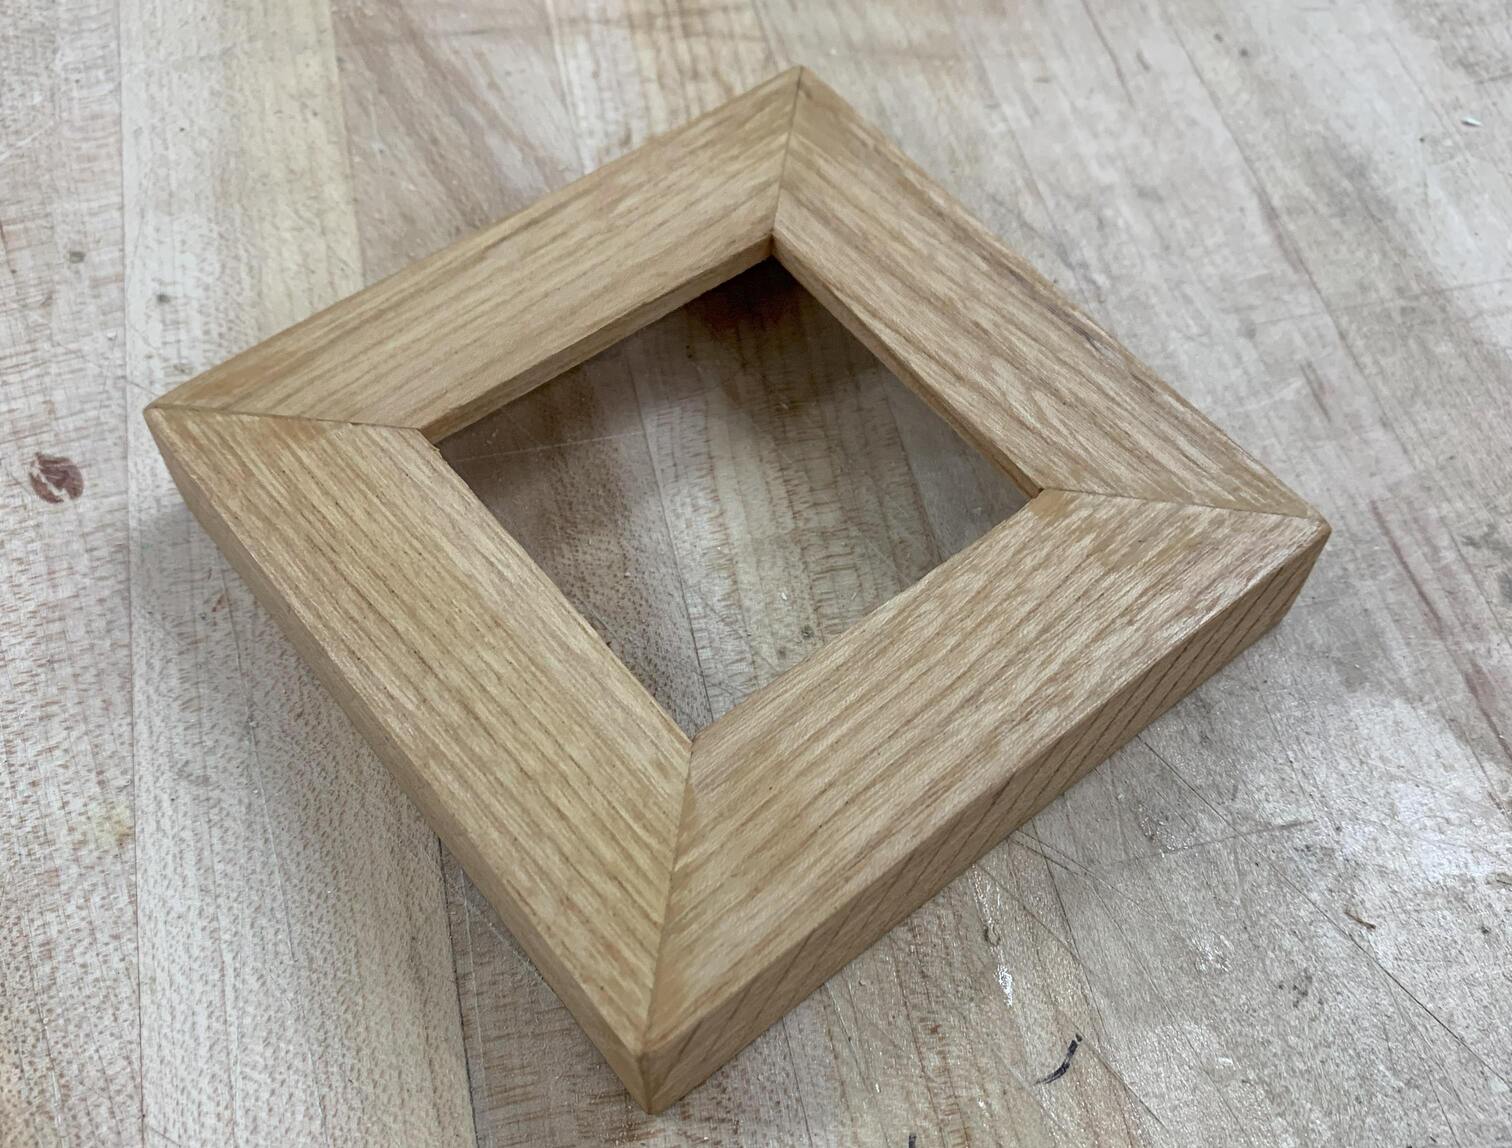
I used a table saw to cut 1.25" strips from a board, and used the same machine to cut a 1/2" x 1/2" rabit along the inner corner of these strips.
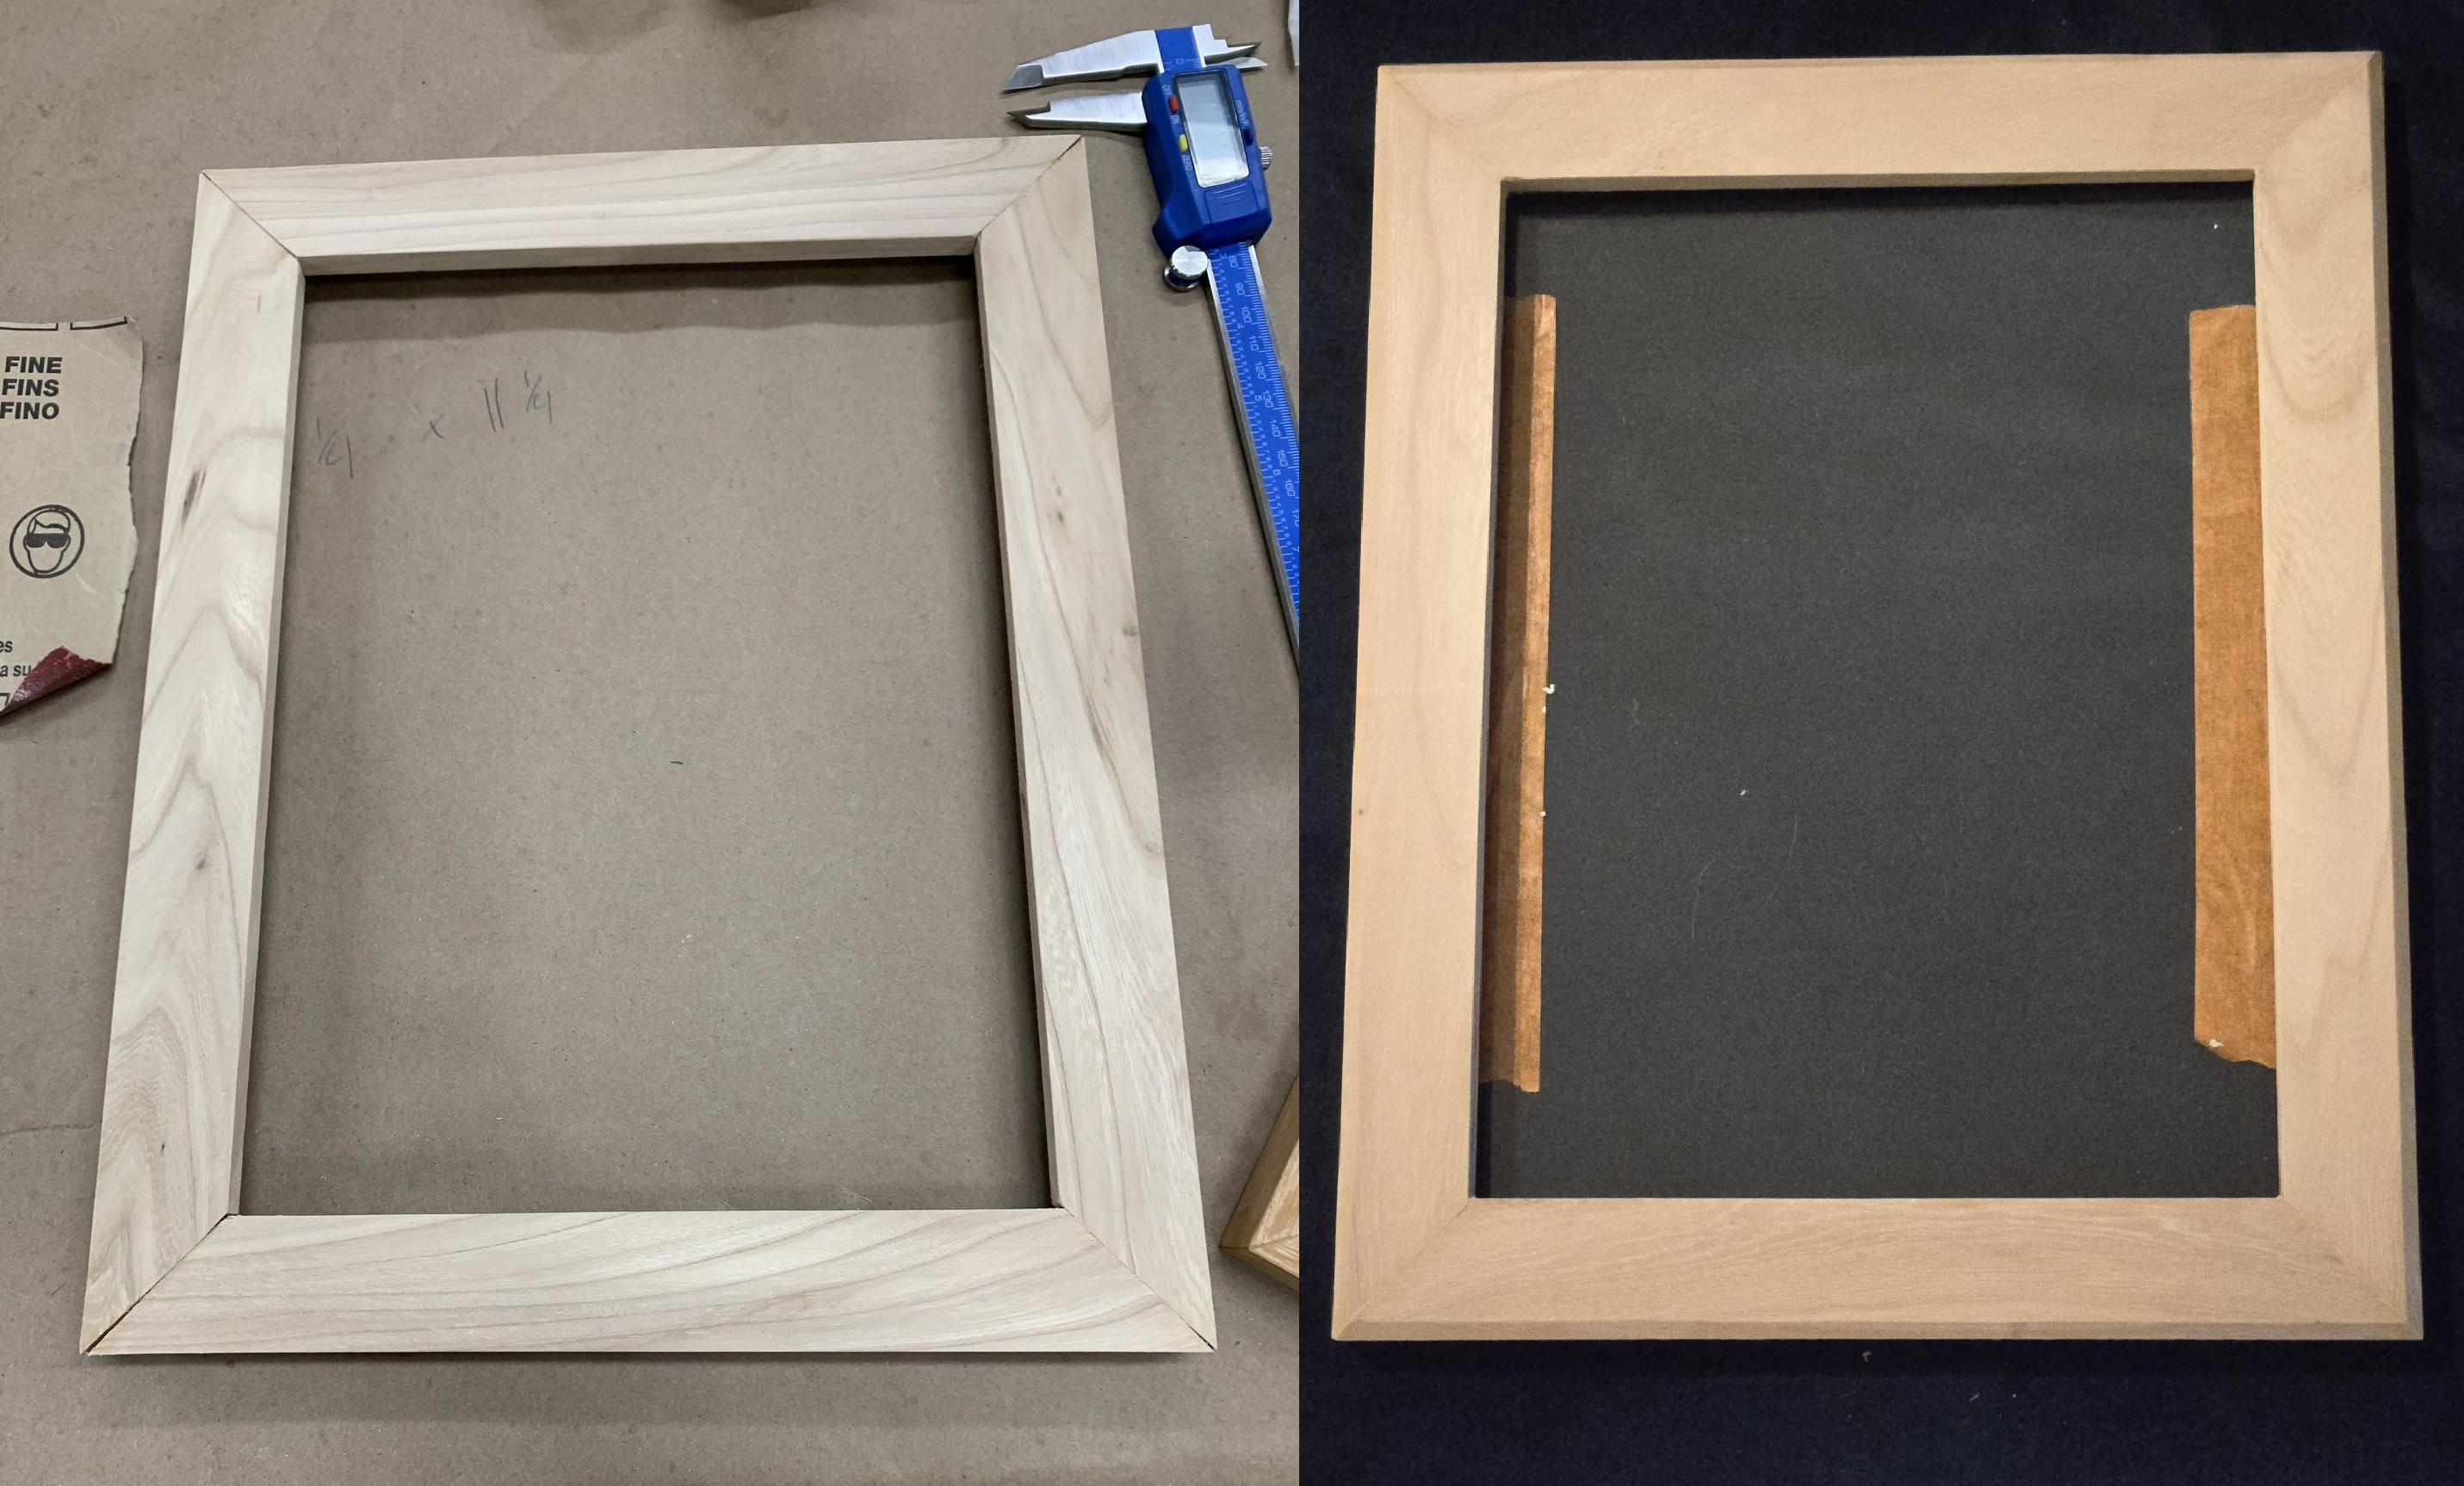
For my first frame I opted for no ornamentation. On my second frame I cut a simple chamfer along the outside edge, partly for aesthetics and partially because it allowed me to remove a minor flaw in the wood.
Although I was hoping to use a table saw with a miter sled to cut perfect corner joints, the one at NorthForge was broken, and I did not have the plywood to repair it. As such, I used a miter saw. This left me with slight gaps in the joints, which filled in with wood filler after gluing together.
For one frame, I opted to apply a coat of varnish, while the other one is unfinished, for a more modern look.
To put my cross stitch in the frame, I purchased some glass cut to size, attached my cross stitch to a piece of mat board, and held it in place using glazing points.
